
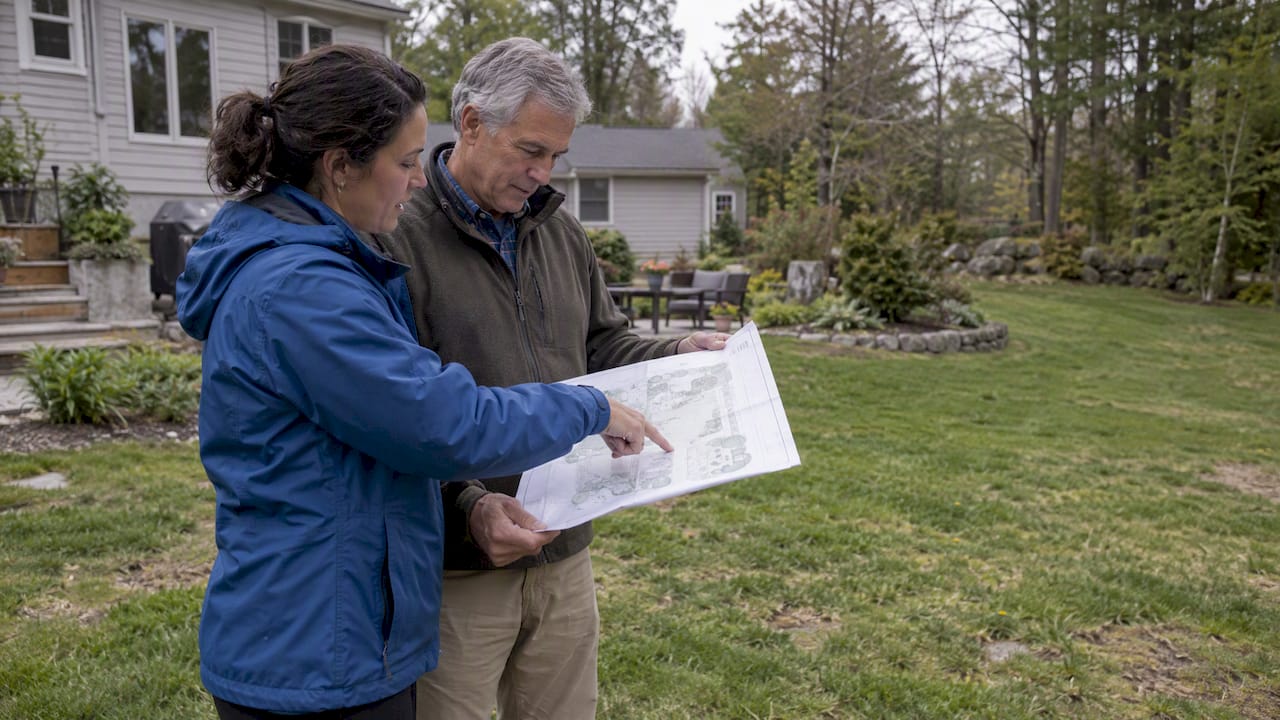
The landscape design process is a staged workflow that moves from intake and site analysis through concept development, design documents, permits, and construction handoff, often incorporating best pool and landscape ideas for your backyard to create cohesive outdoor living spaces. A typical residential project takes 4 to 12 weeks to reach a signed proposal, with larger or more complex properties running longer. You handle goals and budget decisions, while your designer or contractor handles the technical analysis, drawings, and coordination that follow.
TL;DR:
- Prepare photos, a lot plan, a rough budget, priority uses, and hard limits before the meeting; vague briefs can trigger extra revisions.
- Record property lines, easements, grades, drainage, utilities, and seasonal sun before design; hire professionals for utility locates and infiltration testing.
- Compare one primary concept and a secondary variation by how well they serve priority uses, then approve a direction before paying for detailed drawings.
- Check local wall, setback, wetland, and tree rules during design, then compare written bids by scope, allowances, schedule, change orders, and milestone payments.
- During construction, protect retained trees and install erosion controls before grading; document every scope or cost change in a signed change order.
Table of Contents
- Stage 1: Intake, goals, and your project brief
- Stage 2: Site measurement and site analysis
- Stage 3: Concept development and functional diagrams
- Stage 4: Design development and construction documents
- Stage 5: Permits, codes, and regulatory checks
- Stage 6: Procurement and contractor selection
- Stage 7: Implementation and construction management
- Stage 8: Handover, maintenance, and the first year
- What a New England contractor sees go wrong on real projects
- Why a documented process is worth protecting
- How we guide your project from first sketch to finished space
- FAQ
- Sources
Stage 1: Intake, goals, and your project brief
Before any measuring tape comes out, we sit down with you to build a project brief. This document sets the scope, schedule, and fee proposal for everything that follows, so a vague brief tends to produce a vague design and more rounds of revisions later.
Come to your first meeting prepared, and the whole process moves faster. Bring the following:
- Photos of the areas you want to change, taken in different light if possible.
- A copy of your lot plan or plot plan, if you have one on file.
- A rough budget range, even if it feels approximate at this stage.
- A short list of priority uses, such as entertaining, play space, or privacy.
We also recommend writing down your hard limits early: a fixed budget ceiling, whether the driveway can change, and any known utility or easement constraints on the property. Those boundaries shape every decision that follows, and naming them now avoids a redesign later.
Stage 2: Site measurement and site analysis
Once goals are set, the next step is gathering the physical facts that govern what the land can actually support. This usually starts with a base map, either built from an existing survey or measured on site, and university extension guidance recommends recording several details because most site characteristics are difficult and expensive to change later.
- Property lines, easements, and setback requirements.
- Existing structures, trees, and hardscape to keep or remove.
- Grade changes and drainage patterns across the lot.
- Utility locations, both overhead and underground.
- Sun and shade patterns through the day and across seasons.
Soil tests, drainage observations, and microclimate notes round out the picture, since a shaded, windy corner behaves nothing like an open, south-facing slope even on the same property. You can handle photos, rough sketches, and sun tracking yourself. Utility locates and infiltration testing need a professional, since digging blind near a gas line or septic field is not a risk worth taking.
Pro Tip: Walk the property at different times of day for a week before your design meeting and jot down where water pools after rain. That one habit catches drainage problems before they become construction problems.
Stage 3: Concept development and functional diagrams
With the site data in hand, we translate your goals and the land’s constraints into one or two concept directions. This stage relies on bubble diagrams and circulation studies first, sketches that block out zones like seating, planting, and pathways before any material gets chosen. Thinking in rough shapes before details keeps the layout flexible while big decisions are still cheap to change.
Most residential projects land on one strong concept with a secondary variation, rather than a long menu of options, because too many directions slow down decision-making without improving the outcome. You compare the concepts on how well each fits your priority uses, not on finished appearance, since neither drawing is meant to look final yet.
Expect these deliverables at the end of this stage:
- A concept plan showing zones, circulation, and rough feature placement.
- Mood images or material references to anchor the design direction.
- A rough cost range for each concept, enough to confirm it fits your budget.
Approving a concept before moving into detailed drawings protects your budget, since a staged approval gate limits unnecessary detailed work before you have committed to a direction.
Stage 4: Design development and construction documents
Once you approve a concept, it becomes a buildable set of drawings. This stage includes a detailed plan, cross sections, a planting schedule with specific species and sizes, and construction details for walls, edging, and drainage structures. If your project involves grade changes, our guide to landscape grading walks through why proper slope matters for long-term performance.
Grading and drainage get priority attention at this stage, and that is not a stylistic choice. ASLA’s licensure guidance frames grading and drainage as professional responsibilities tied to public health and safety, since poor grading causes flooding and erosion that no amount of planting can fix after the fact.
A detailed, well-documented plan reduces guesswork at bid time. Industry workflow guidance ties a consistent, documented process to fewer revisions and more predictable outcomes once the project moves to contractors.
Design development typically includes:
- A dimensioned layout with materials and finishes specified.
- Grading and drainage plans, including any drainage testing results.
- A planting plan with species, quantities, and installation sizes.
- Construction details for walls, steps, lighting, and irrigation sleeves.
Stage 5: Permits, codes, and regulatory checks
Depending on your scope, your project may need sign-off from local or state authorities before construction starts. Common triggers include major regrading, retaining walls above certain height thresholds, stormwater disturbance over a set area, and protections on specimen or shade trees.
Regulators may ask for a grading plan, an erosion and sediment control plan, or a stormwater pollution prevention plan on larger sites. Connecticut’s stormwater manual describes how low-impact development planning folds these concerns into the design from the start, reserving high-infiltration soil areas for stormwater management rather than treating them as an afterthought.
Check early rather than late:
- Confirm wall height and setback rules with your local building department before finalizing the design.
- Ask whether your property falls under any wetlands or shoreline overlay.
- Flag any specimen trees that local ordinances protect.
Permit review timelines vary by municipality, and building this check into Stage 4 instead of after bidding keeps your schedule intact. If your project includes a retaining wall, our retaining wall drainage guide covers checks worth confirming before you sign a contract.
Stage 6: Procurement and contractor selection
With approved drawings in hand, the next step is turning your design into a bid package and choosing who builds it. Issuing clear, complete documents for bid, rather than a verbal scope, is what lets contractors quote accurately instead of guessing.
- Request references, proof of insurance, and sample warranty language from each bidder.
- Compare bids line by line, not just by total, checking allowances and what each number includes.
- Review each bidder’s proposed schedule and how they handle change orders.
- Confirm the payment schedule ties to completed milestones, not just elapsed time.
- Ask about lien waivers and how contingency funds are handled if conditions differ from plan.
ASLA’s standard-form contract guidelines recommend clearly defined scopes and explicit treatment of budgets and alternates, since vague contract language is where most disputes start. Our guide to scope of work explains how to read and interpret this section before you sign, and our bid comparison checklist walks through gathering and comparing multiple written bids.
Stage 7: Implementation and construction management
Construction generally follows a set sequence: site protection and demolition first, then grading and drainage, hardscape installation, irrigation sleeves and lines, and planting last. Phased installation can spread this sequence across multiple seasons or budget cycles without losing design coherence, which our phased installation guide covers in more detail.
Protecting what stays in place matters as much as building what’s new:
- Fence or flag trees you’re keeping before equipment arrives on site.
- Install erosion control measures before grading begins, not after a storm.
- Walk the site at key milestones to confirm grades and layout match the plan.
Any change during construction should go through a documented change order with your signature, not a verbal agreement, so scope and cost stay traceable.
Stage 8: Handover, maintenance, and the first year
A complete handover includes as-built drawings, a final plant list, irrigation programming instructions, and a maintenance schedule for the months ahead. These documents matter later if you add on, troubleshoot irrigation, or bring in a different maintenance crew.
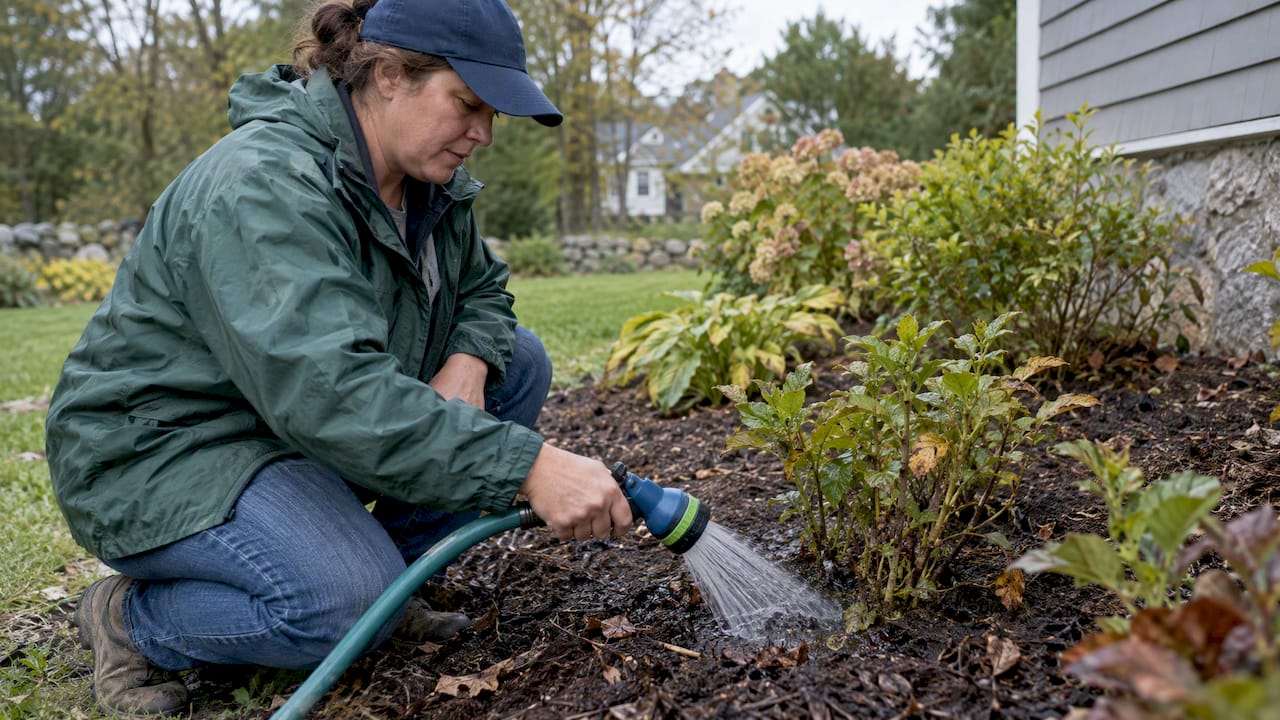
New plantings need consistent watering through their first season, and it’s normal to see some stress as roots establish, particularly during hot or dry stretches. We recommend a post-occupancy check-in a few weeks after installation to catch any settling, drainage surprises, or plant health issues while they’re still easy to fix.
Pro Tip: Keep your as-built plan and irrigation controller settings in one folder at home. It saves time during the first service call or if you sell the property.
What a New England contractor sees go wrong on real projects
After years of building outdoor spaces across New Hampshire and Massachusetts properties, the pattern we see most often is drainage and grading getting treated as an afterthought instead of a first decision. Extension research on site analysis backs this up, warning that skipping drainage and soil evaluation early tends to cause design failures that cost far more to fix than to prevent.
A few lessons from the field:
- A patio that looks level on install day can pond water within a year if the grading plan ignored the yard’s actual slope.
- When a property shows mixed drainage behavior across the lot, we design to the worst-case infiltration spot, not the best one, to avoid a localized failure later.
- Phasing hardscape first and planting last, rather than mixing the two, protects new plants from equipment damage and lets irrigation get commissioned before anything goes in the ground.
Why a documented process is worth protecting
A staged, documented process is not bureaucracy for its own sake. It’s the difference between a landscape that performs well for a decade and one that needs costly correction in year two. The biggest favor you can do yourself is assembling a clear brief, your priorities, your budget ceiling, and your hard constraints, before your first meeting with a designer.
— Damian
How we guide your project from first sketch to finished space
We handle the full arc of this process: design, grading and drainage correction, hardscape, and phased installation when budgets call for it.
Come to your consultation with your priority list and rough budget, and we’ll walk you through site needs, whether a survey is required, and a fee proposal tailored to your property. Start with our landscape design page to see how we approach the process from the first visit.
FAQ
What do you mean by landscape design?
Landscape design is the planning process that turns a property’s site conditions and your goals into a buildable plan for plantings, hardscape, grading, and drainage. It covers everything from the first site visit through construction documents, not just plant selection.
What is the rule of three in landscaping?
In planting design, the “rule of three” refers to grouping plants in odd-numbered clusters, commonly threes, because odd groupings tend to read as more natural than paired or symmetrical arrangements. Designers apply it as a general visual guideline rather than a fixed technical standard.
What are the steps involved in landscaping a new yard?
A new yard typically moves through intake and goal-setting, site measurement and analysis, concept development, detailed design and construction documents, permitting where required, contractor selection, construction, and a final handover with maintenance guidance. Most residential projects reach a signed proposal within 4 to 12 weeks, with construction time added after that.
How do I make my own landscape design?
Start by mapping your property’s sun patterns, drainage, and existing features, then sketch rough zones for how you want to use the space before picking materials or plants. Extension guidance on base maps recommends recording site conditions carefully first, since most of them are expensive to change once construction begins.
Sources
- ASLA licensure handbook (landscape architecture licensure rationale and professional responsibilities)
- Drawing a landscape plan: base map and site analysis — CAES Field Report (UGA)
- Connecticut Stormwater Quality Manual — LID site planning and design process
- The modern landscape design workflow: From site visit to signed proposal — Dynascape blog